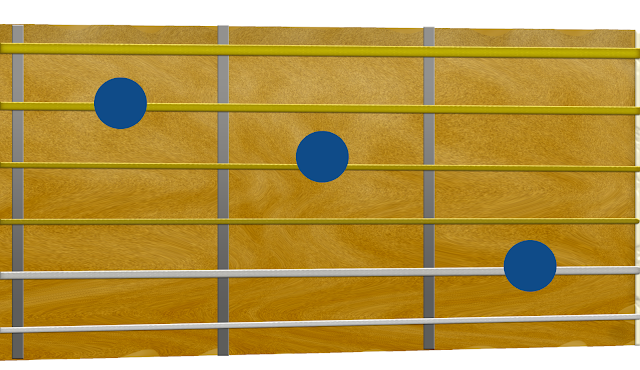
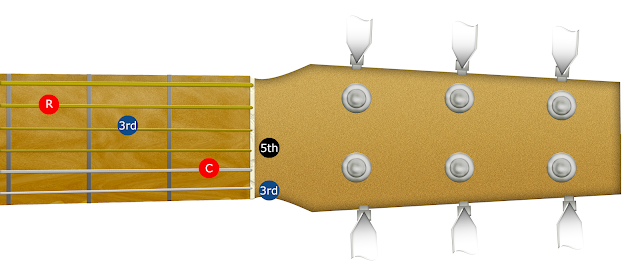
In lesson 8, we looked at the C shape on the fretboard, which can be used to play any major chord.
In this lesson, you are going to build on this knowledge and learn how to:
- solo with the C shape if your root note is on the 5th string
- identify the C chord and the D chord within the C shape
- find the other interval notes within the major scale
This is called the C shape pattern because if played in the first position, our root note (in the major scale) would be on the note C. But, remember, our root note could be any note on this fifth string.
Because the root is on the fifth string, you're going to play it with our little finger. It's important that you do that when using this shape because the other notes you'll play are going to be to the left of it. So you need the other fingers on the left of our little finger available for play.At first, these full scale shapes can seem a bit intimidating, so let’s just take a moment to look at the C shape and review what we already know:
We can see the C shape here. But we can also see the shape that comes before it in the CAGED system, the D shape.At first, I also want you to learn these patterns from root note to root note (the red dots on the diagram), so we can ignore the other notes outside of this, for now (greyed out in the diagram):
 We know that because this shape is moveable, we need to replace the nut of the guitar with our index finger. So that is why all of the notes in the first fret of the shape are included.
So, there are actually only an additional 4 notes to think about.
Let's use the knowledge you’ve already gained from the previous lessons to really understand this pattern.
Starting on our root note then (the red dot on the fifth string), let’s walk up all 7 notes in our shape, by finding them to the left, or in the same fret as the root note, which we play with our little finger.
So, our 2nd interval note then is three frets up on the fourth string (the whote dot). That's why we've started with our little finger, so our index is free.
Our third interval note, we know we play on the string below our root and to the left one fret (the dark purple dot). We already where third interval notes are positioned in relation to our root note in lesson 5.
Our fourth interval note we already learned is found directly below our root note (the dark grey dot). We learned this when we looked at how our guitar is tuned in lesson 2.
Our perfect fifth, we can find two strings down, and three frets across (the black dot below our second interval note). We already learned this in lesson 6 when we looked at fifth interval notes.
Our 6th interval we find directly below our third (the light blue dot).
Our seventh interval note is found in the fret before our octave note, on the second string (the light purple dot).
So, if you want to solo over any chord that has its tonal centre on this fifth string, you can put the root note under your little finger, and use this pattern.
Let’s think back to our early example, Happy Birthday to you. You should be able to play that melody now, with this C shape. Just to remind you the intervals were
Ha - Tonic (red dot - fifth string)
ppy - Tonic (red dot - fifth string)
birth - Major 2nd (white dot, fourth string)
day - Tonic (red dot - fifth string)
to - Perfect fourth (dark grey dot, fourth string)
you - Major third (dark purple dot, fourth string)
Give that a try. Keep your root note under your index finger and use this shape to play the melody.
When you're ready, you can also try moving the whole shape up a whole step, so your root note is on the D of the fifth string. You can play exactly the same pattern, and you will be playing in the key of D, using the C shape.
Guitar practice journal
Download the Guitar Practice Tracker today. It will help to keep you motivated and give you a visual representation of your progress, and areas of focus throughout the year.
A guitar journal will enable you to:- Set personalised goals and monitor your progress
- Identify the number of hours or days you've spent on a particular skill
- Provide a quick reference to the notes and chords in a particuar key
- List the songs you know and sort by key, capo placement, artist, and chord progression
- Link directly to your favourite YouTube videos and tutorials
Download the Guitar Practice Tracker
Go to Lesson 14: Soloing with the A shape
If you found this lesson helpful and you're able to, please

